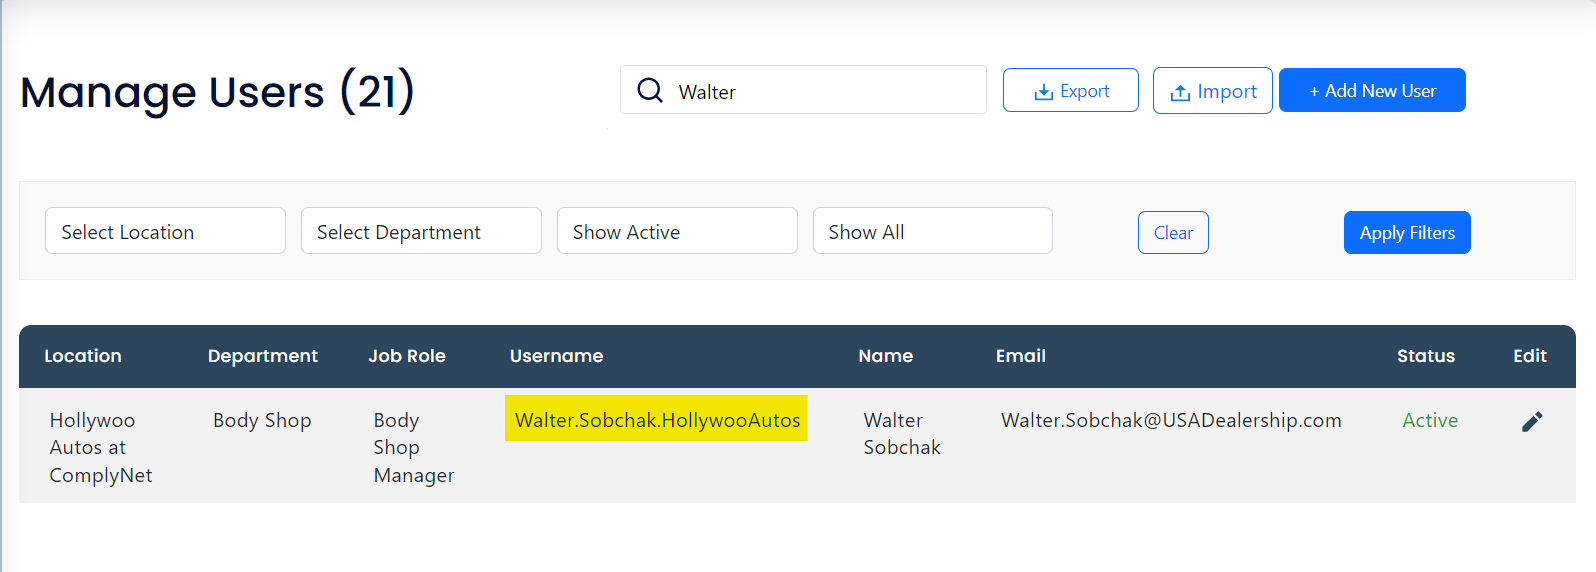
Within this article you will find a step-by-step demonstration on how to change a users username within your platform.
Note: To perform the tasks mentioned in this article, it is essential to have Admin access within the system. If you do not have the necessary permissions, please contact your company's administrator for assistance.
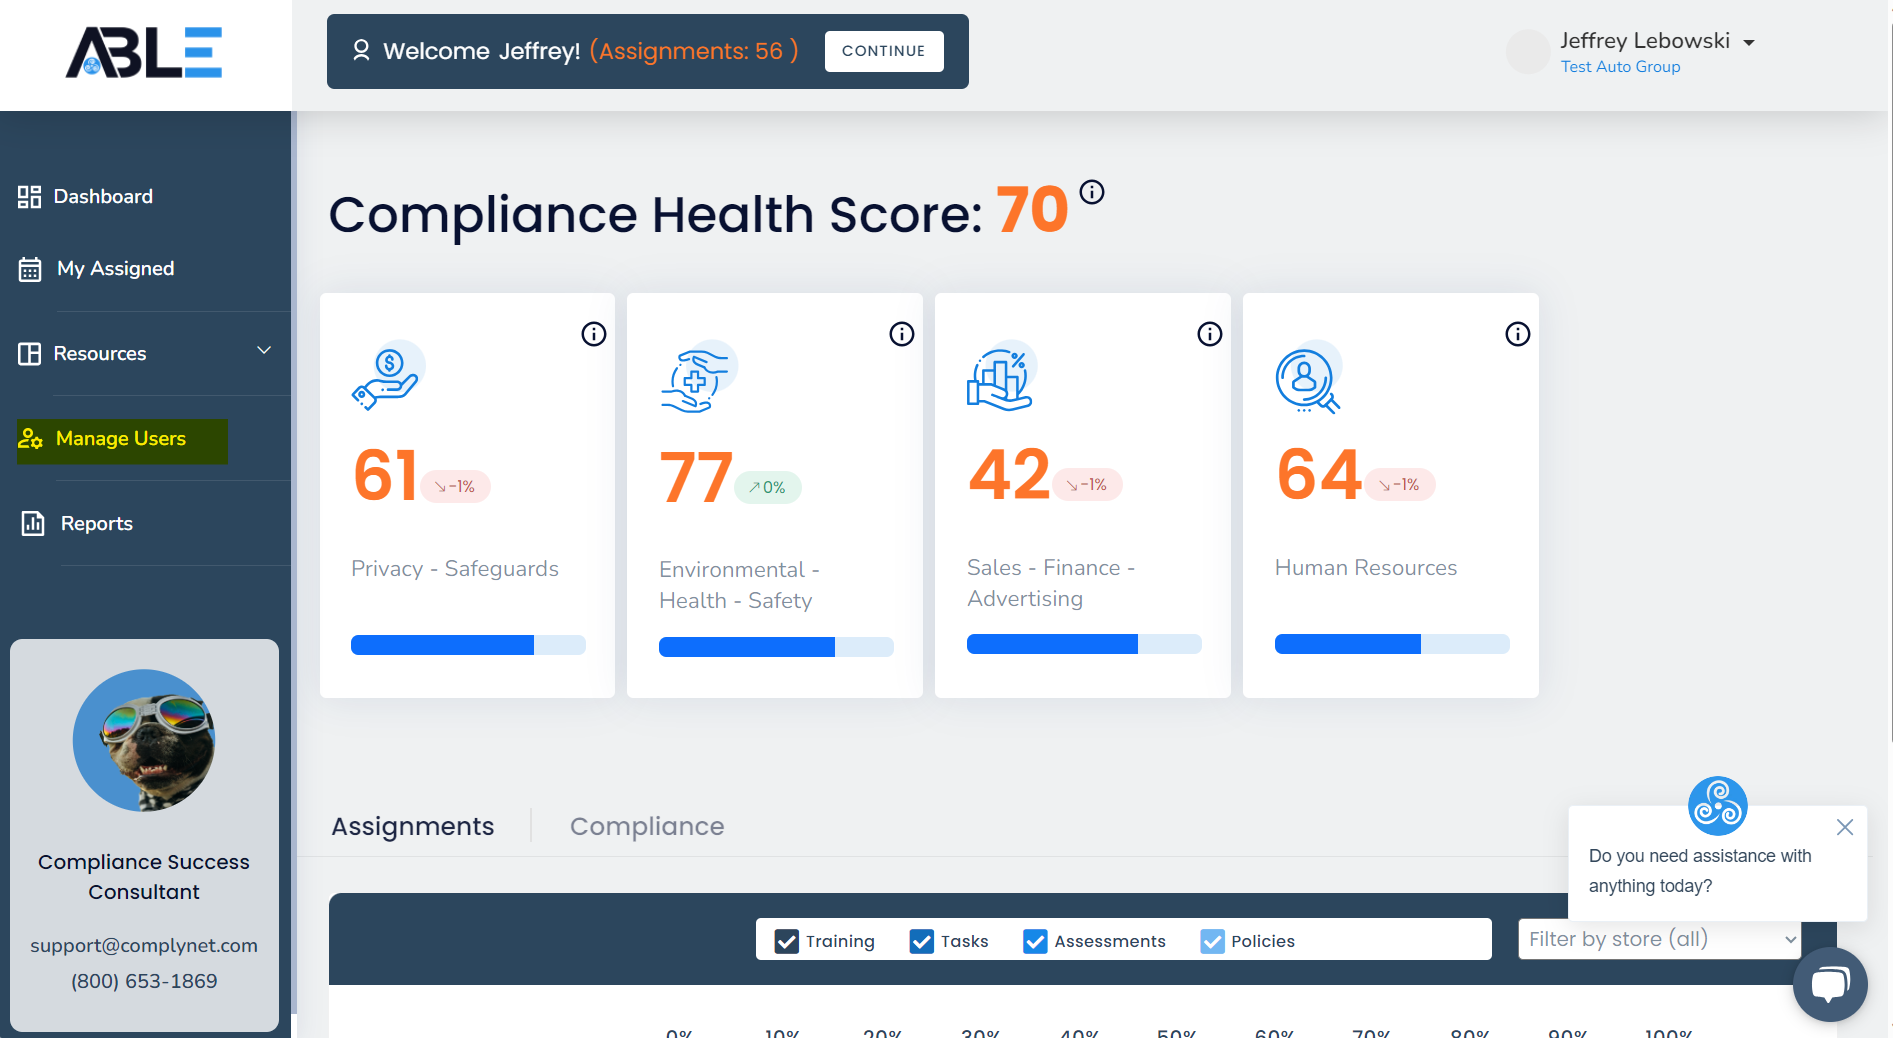
→ To begin, locate the Manage Users tab situated on the left side of your screen after you log in.
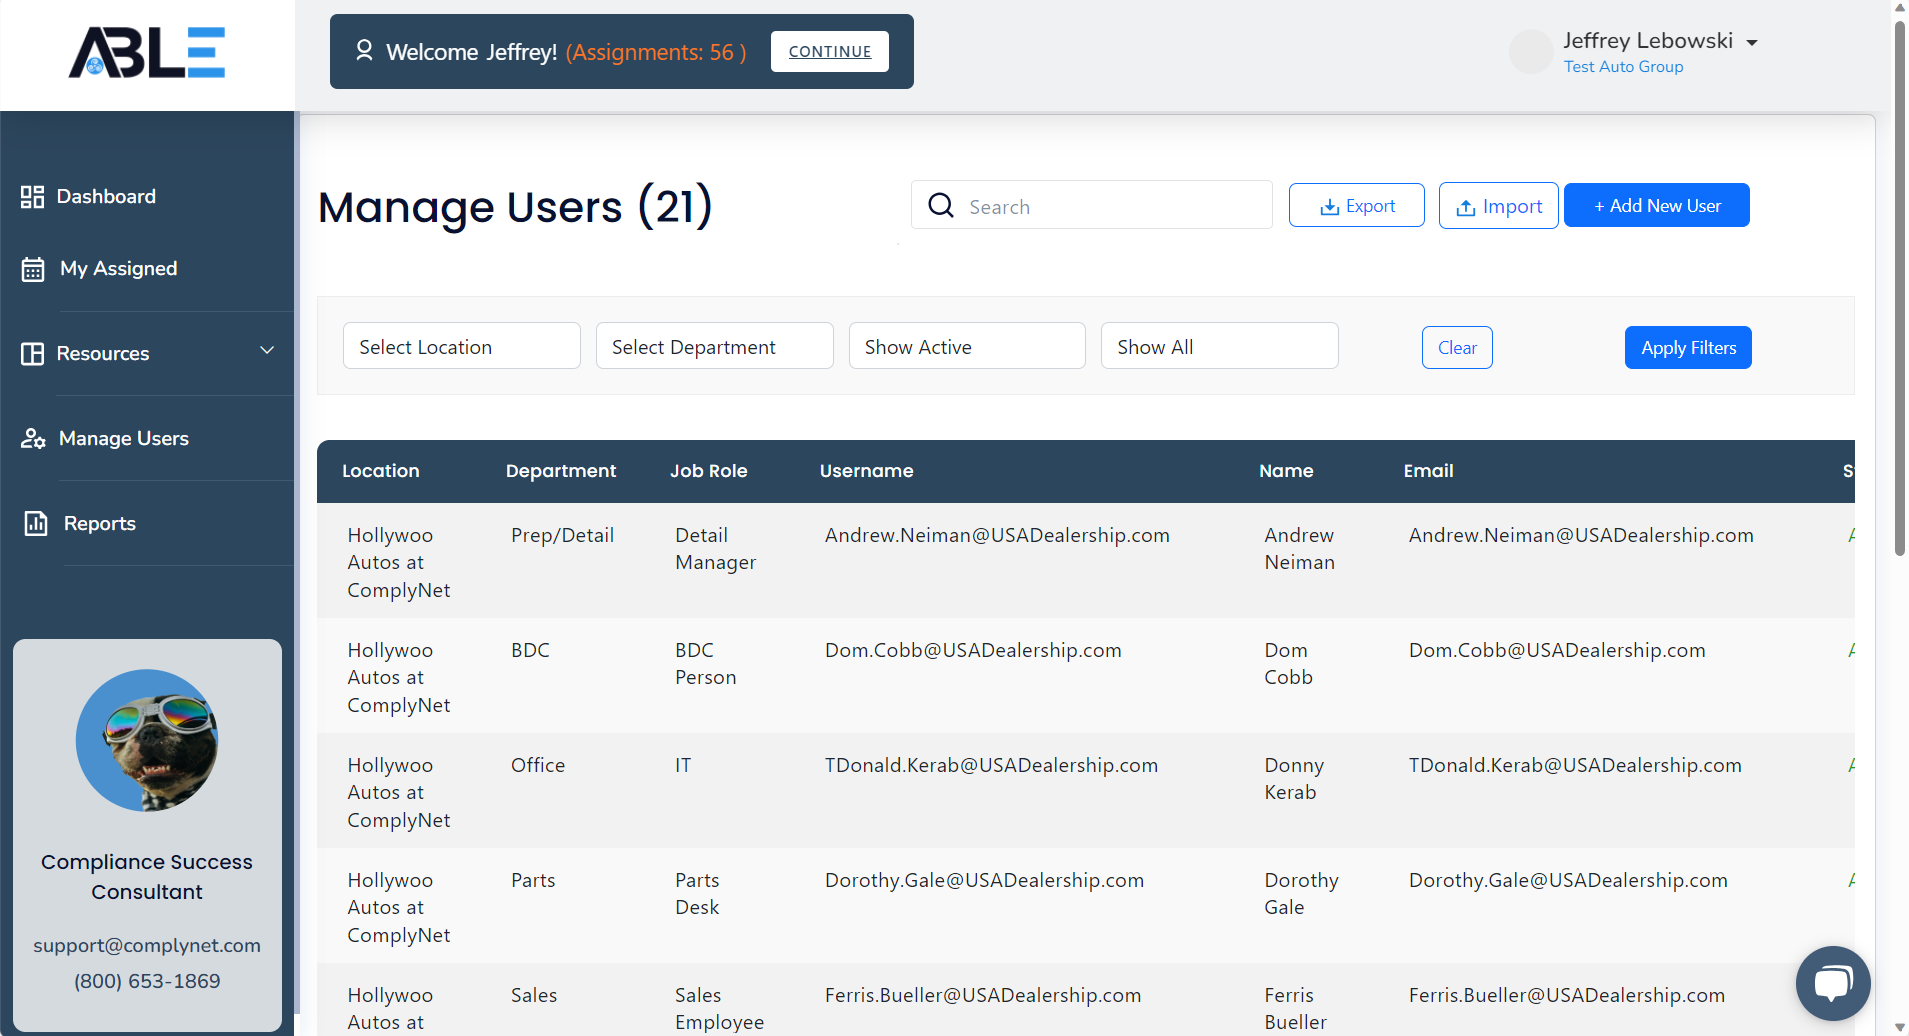
→ After navigating to the Manage Users tab, you will see a visual representation of the example below on your screen.
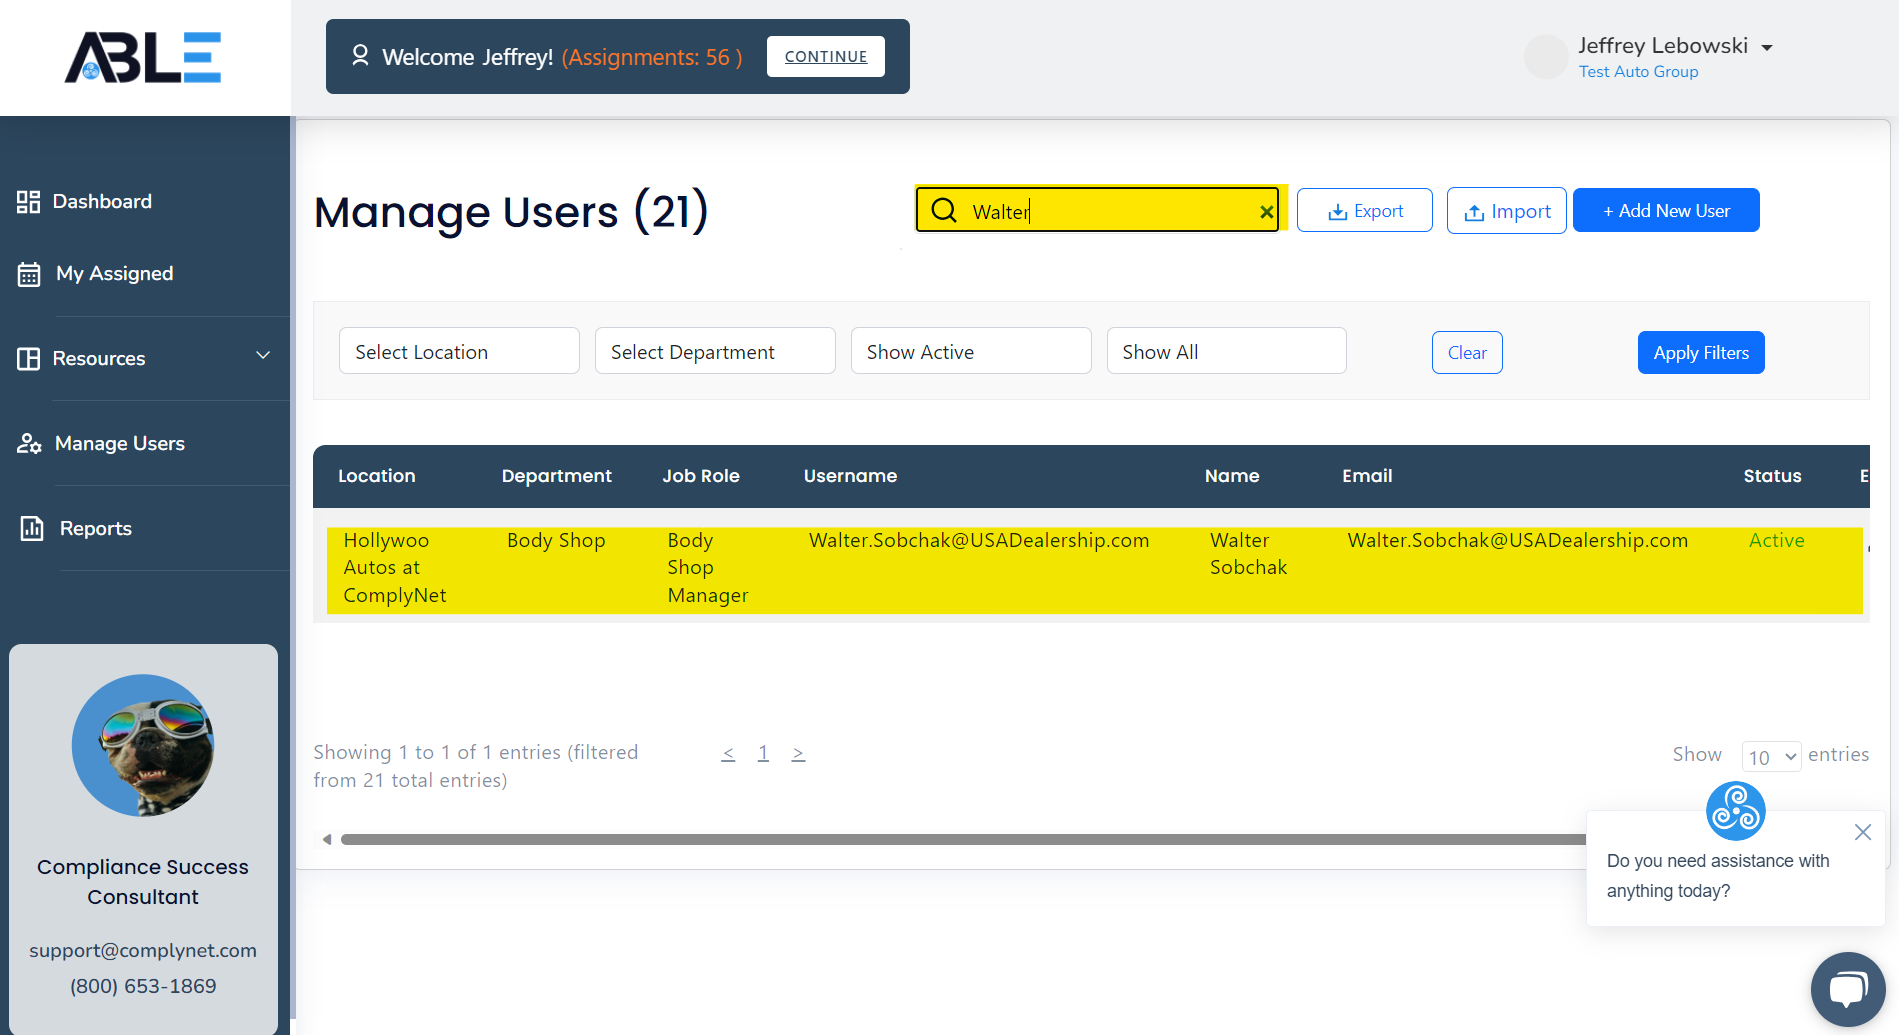
→ Utilize the Search feature to locate the user you wish to edit. Upon finding the user, click their profile.
→ Once you click on the user, a pop-up window will appear displaying their profile information. By default, you will be directed to the Edit tab, where you can make the needed changes.
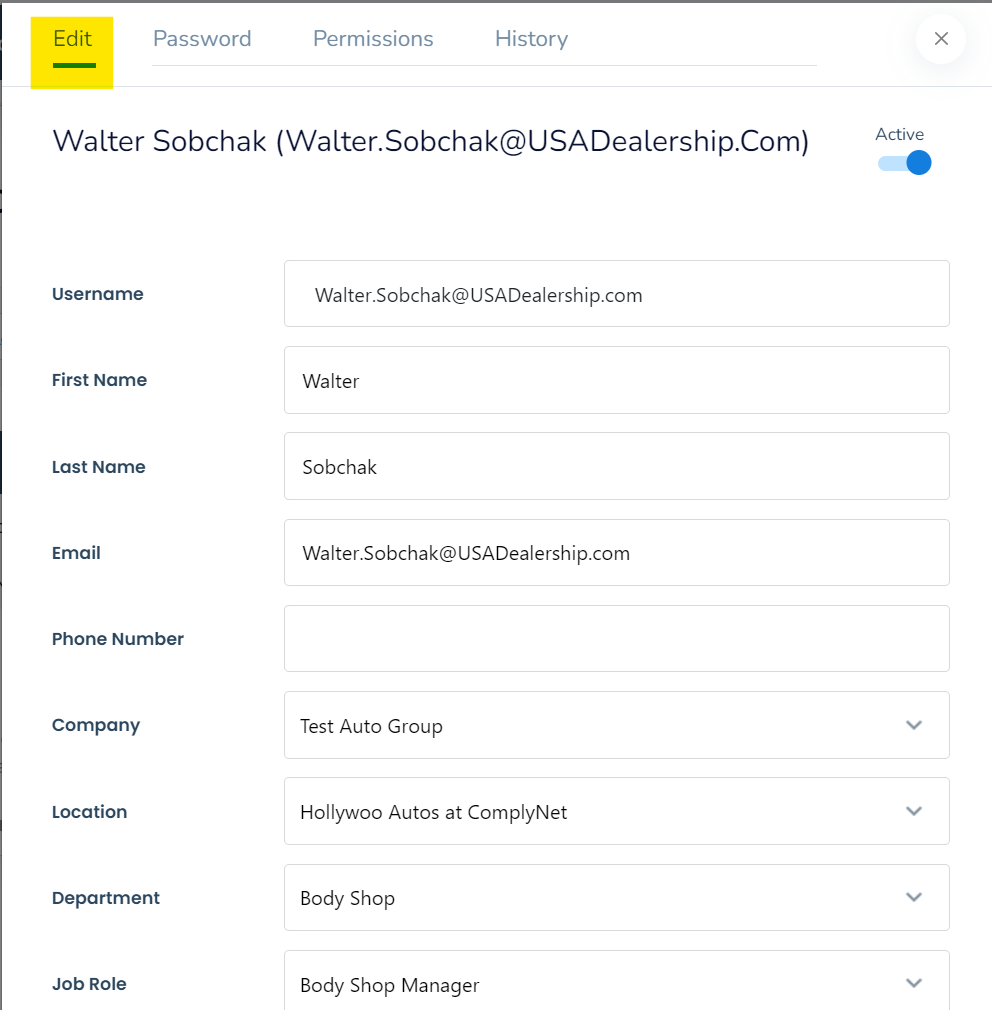
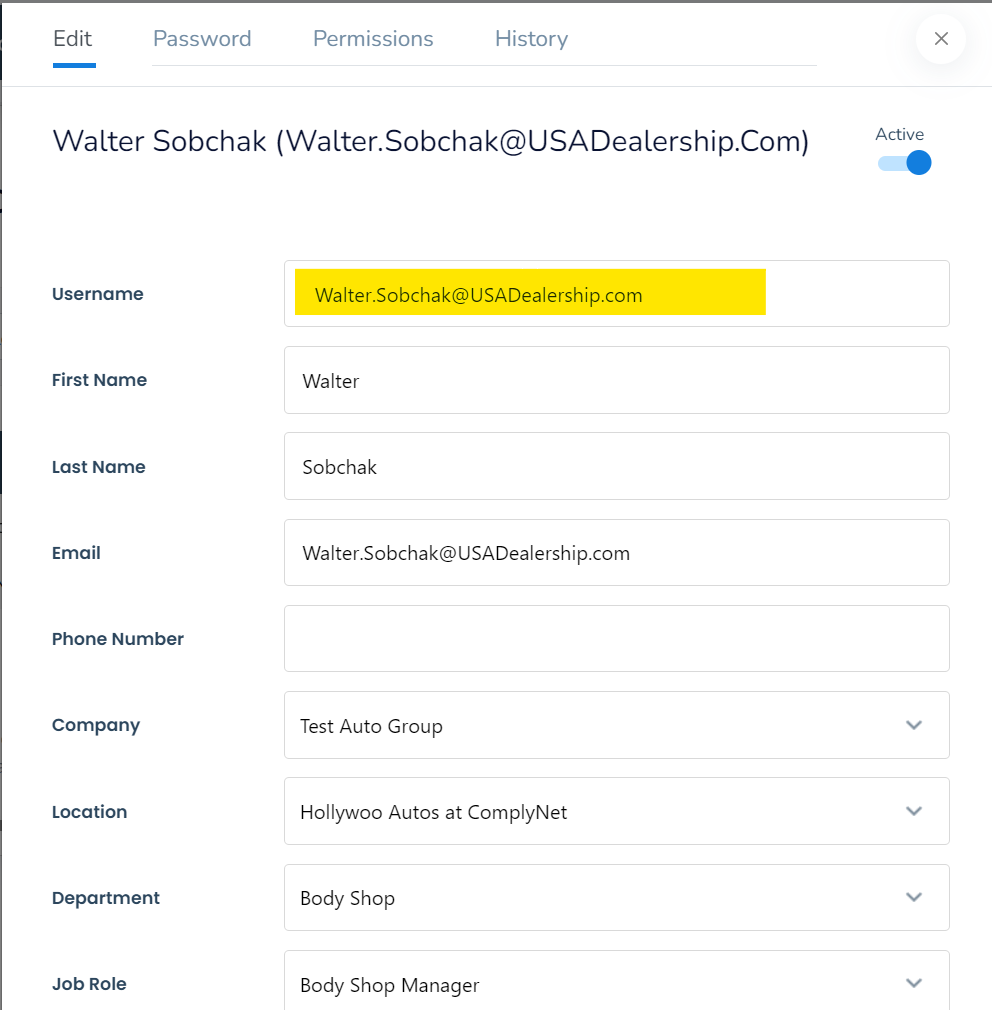
→ From here, you have the ability to make the necessary changes to the listed username for this particular user. Click where the current username is listed to begin erasing or typing.
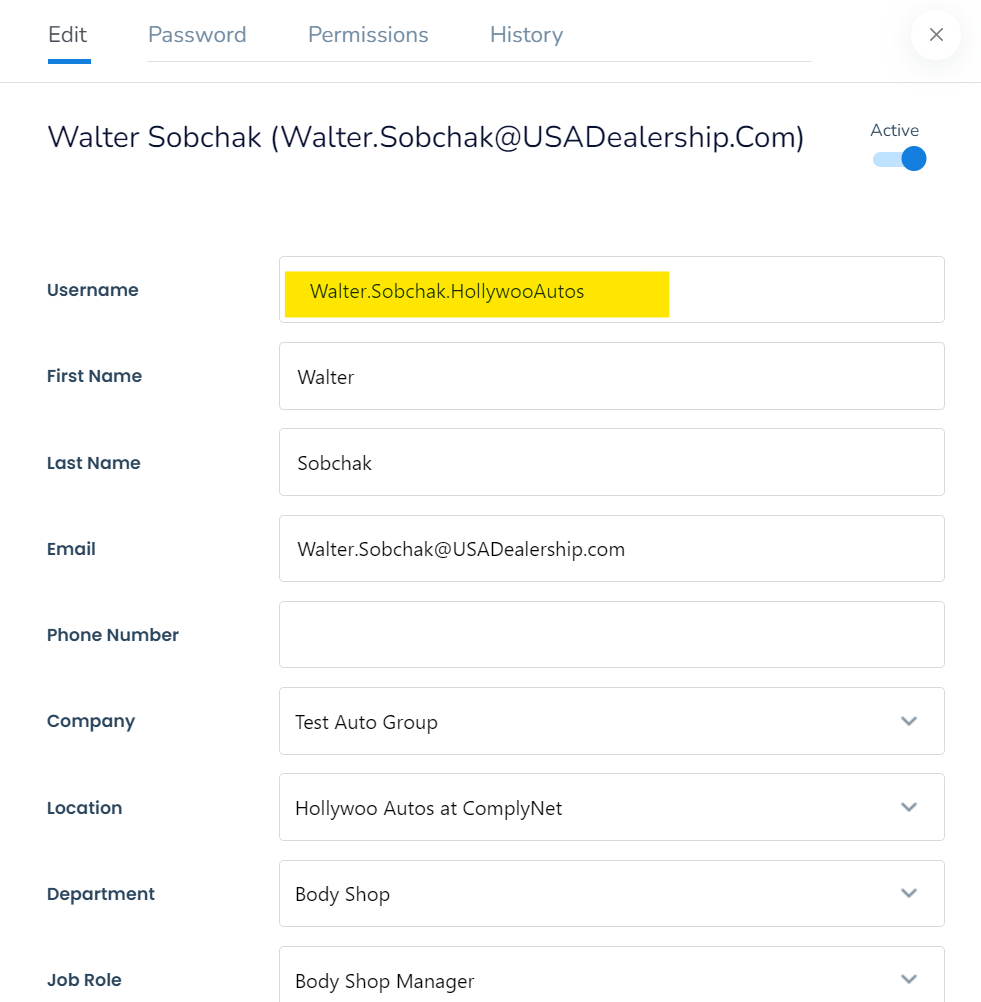
→ Once you have made the necessary changes to the username, please take a moment to review and ensure that all the information appears correct.
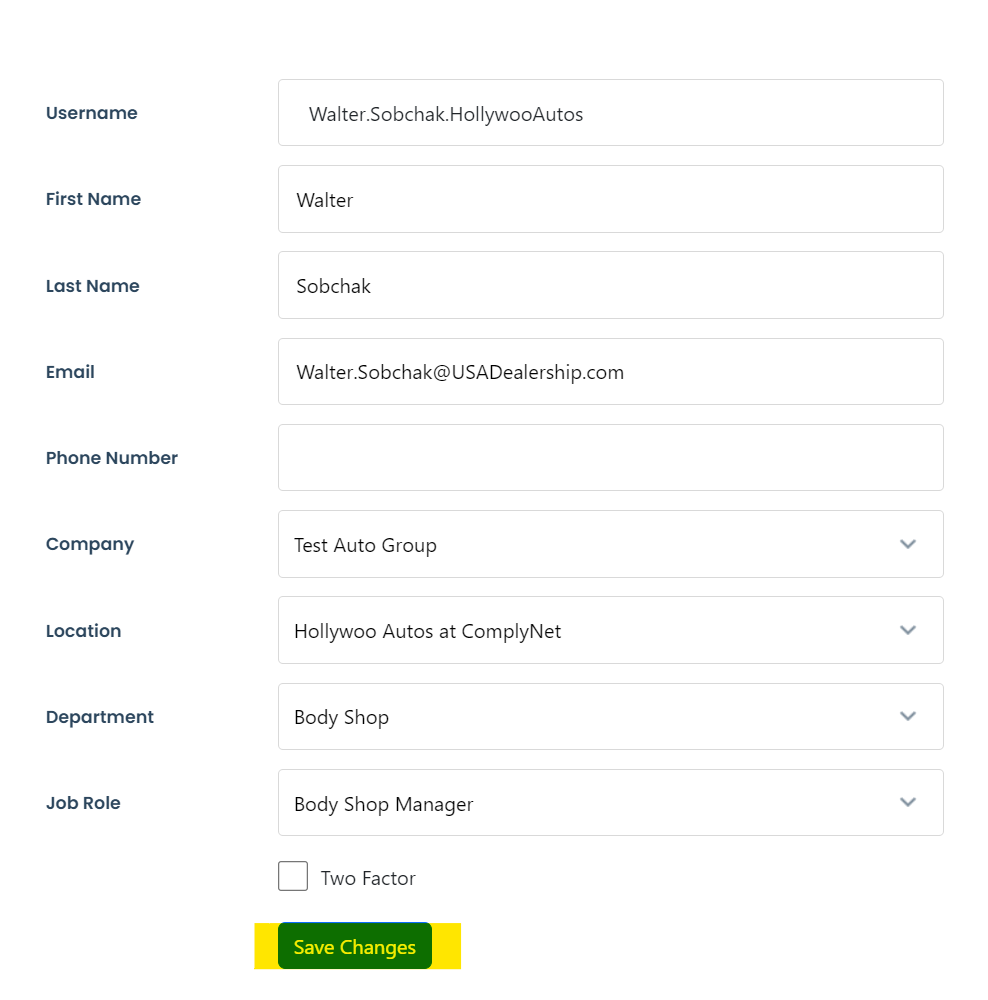
→ Once you have completed your edits, click on "Save Changes" located at the bottom of the profile to apply the updates for the user.
→ After refreshing your screen and navigating back to the Manage Users page, you will discover that the desired changes have been successfully implemented.
