Follow this article for a comprehensive step-by-step walkthrough on how to reassign eTasks to a user.
Note: To reassign an eTask to a user, it is necessary for the user to have permissions for the eTask dashboard within their user profile. Please refer to our How to add permissions to a user article.
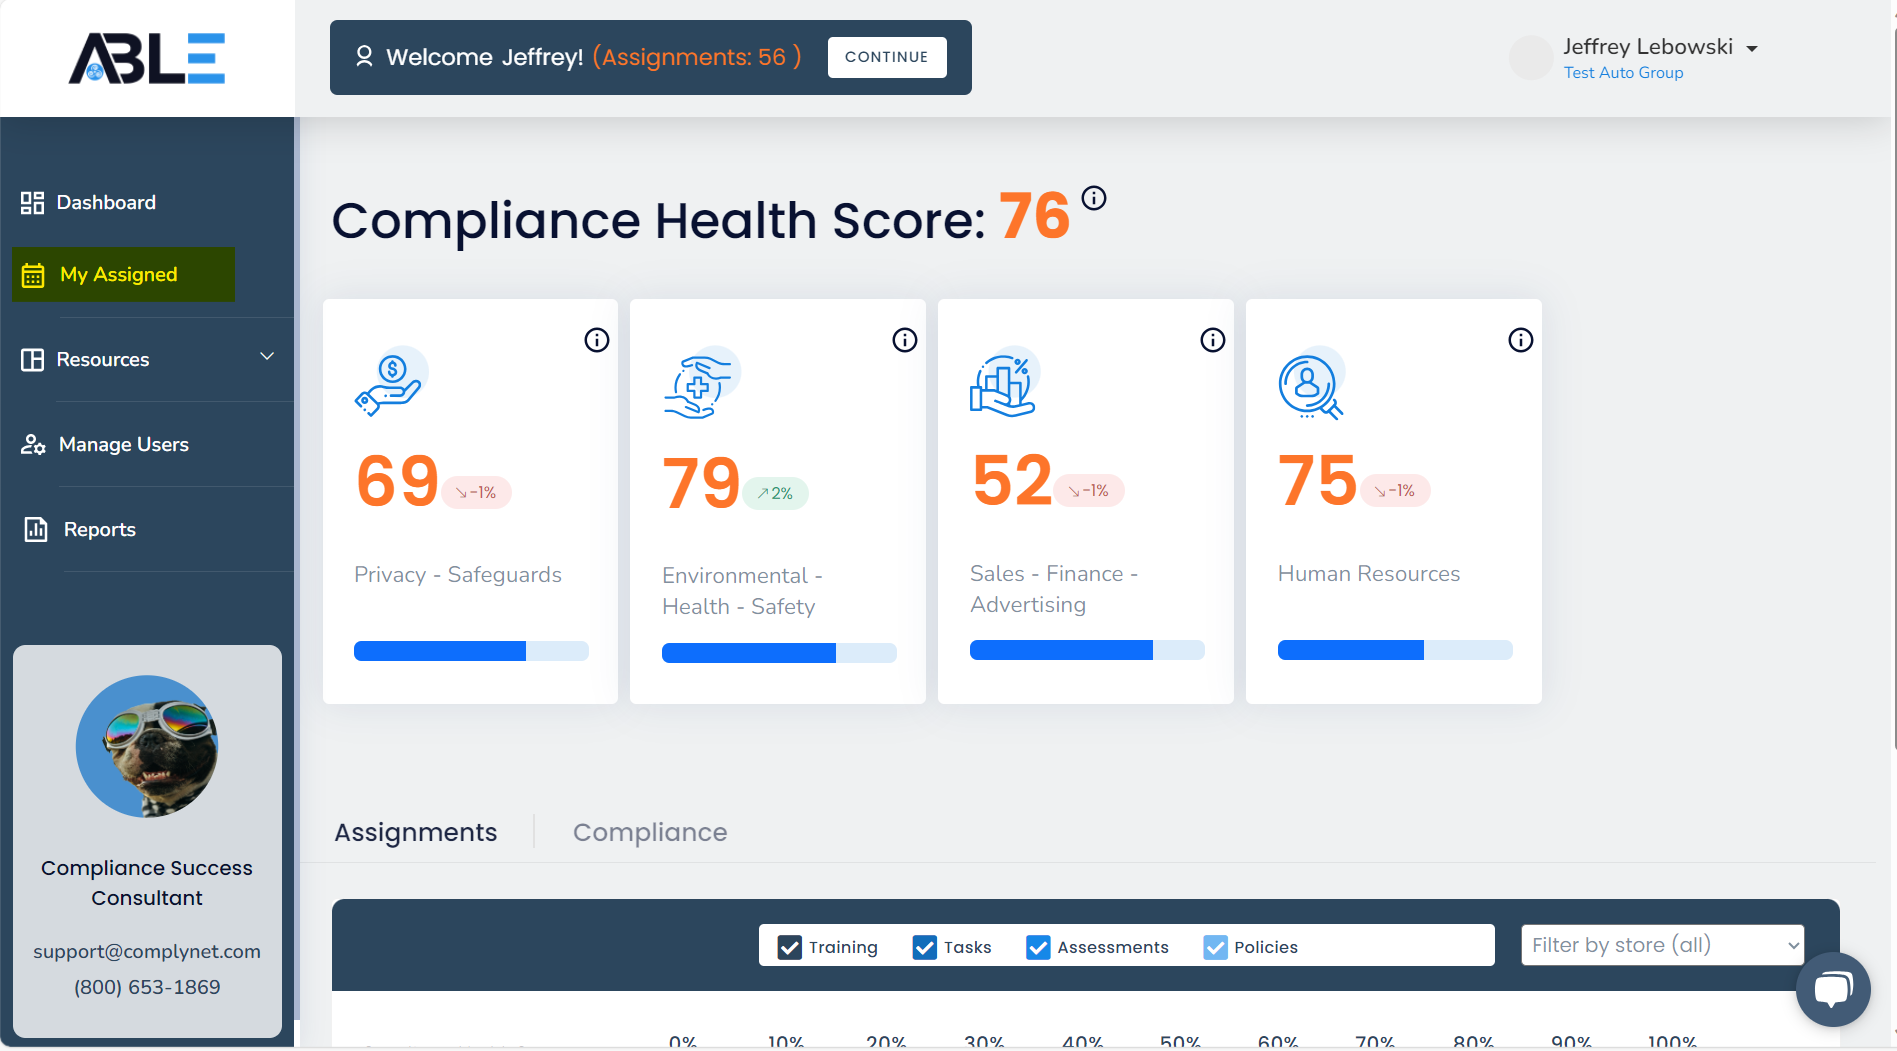
→ To begin, locate the "My Assigned" tab on the left side of your screen once you have logged in.
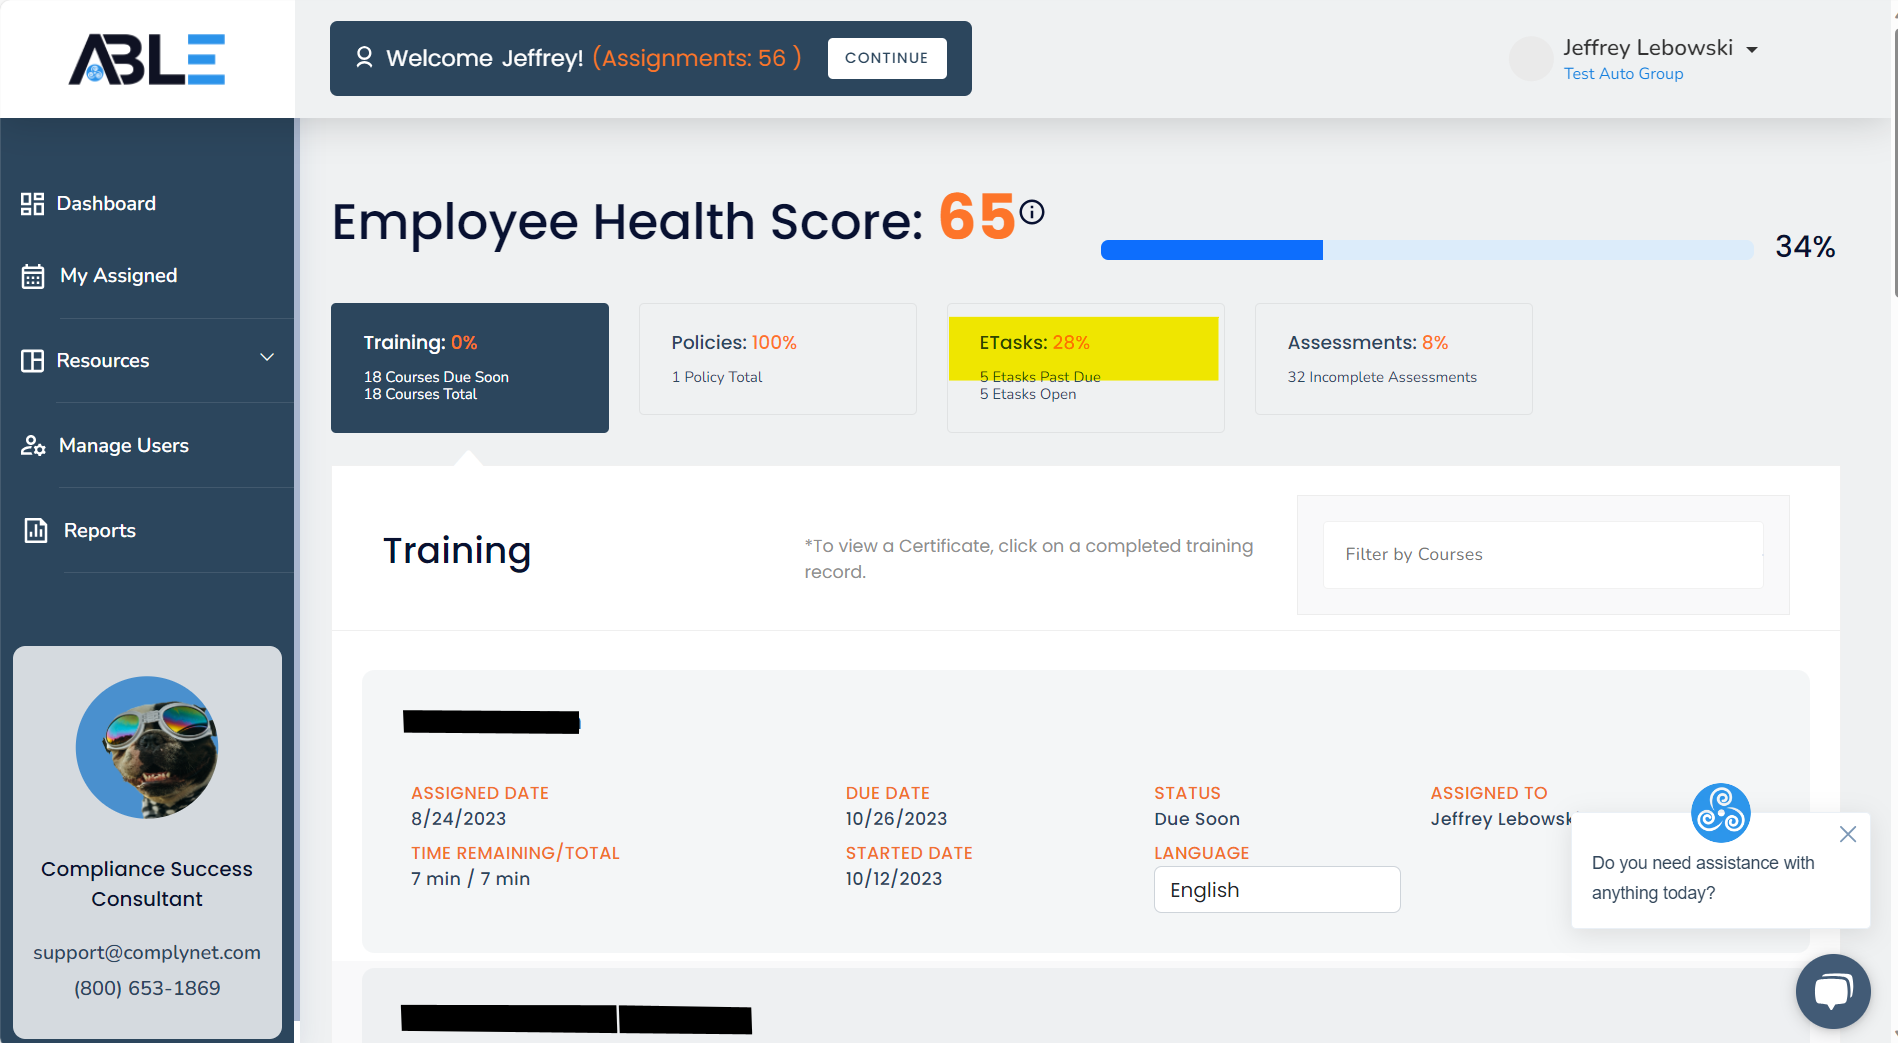
→ After accessing the My Assigned page, click on the "ETasks" tab.
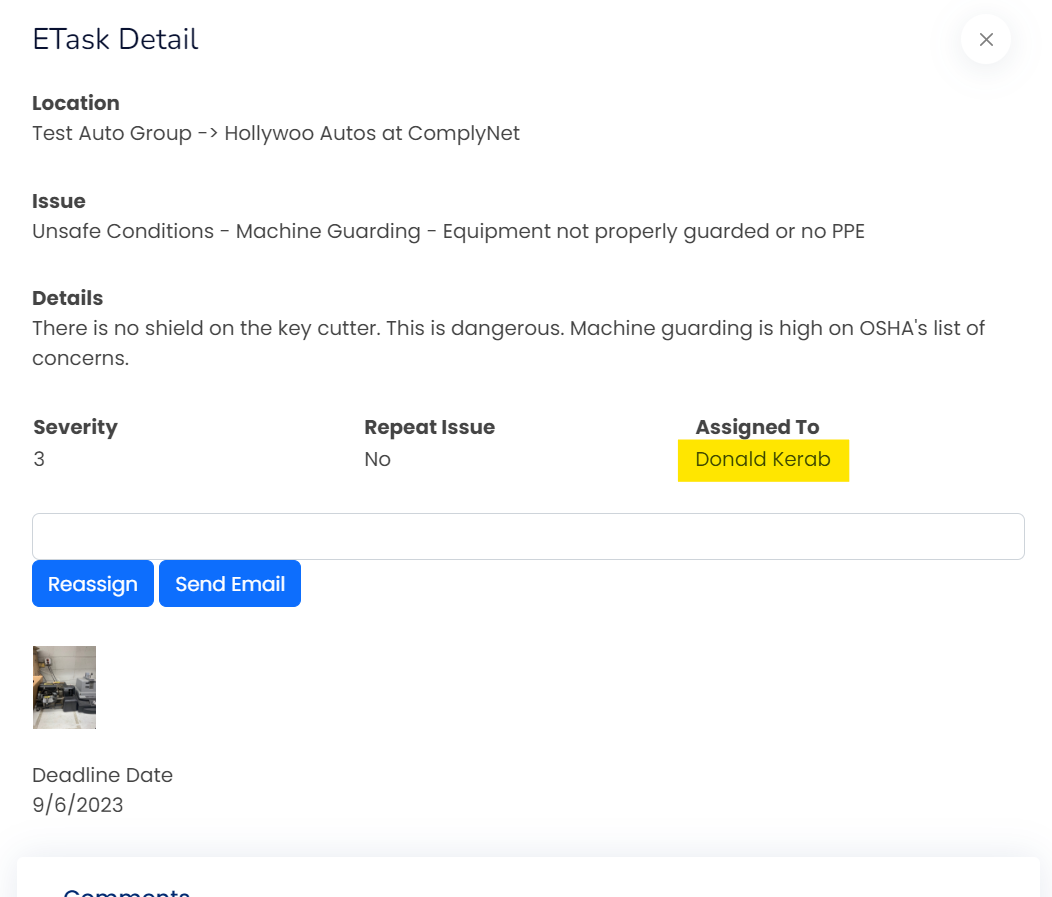
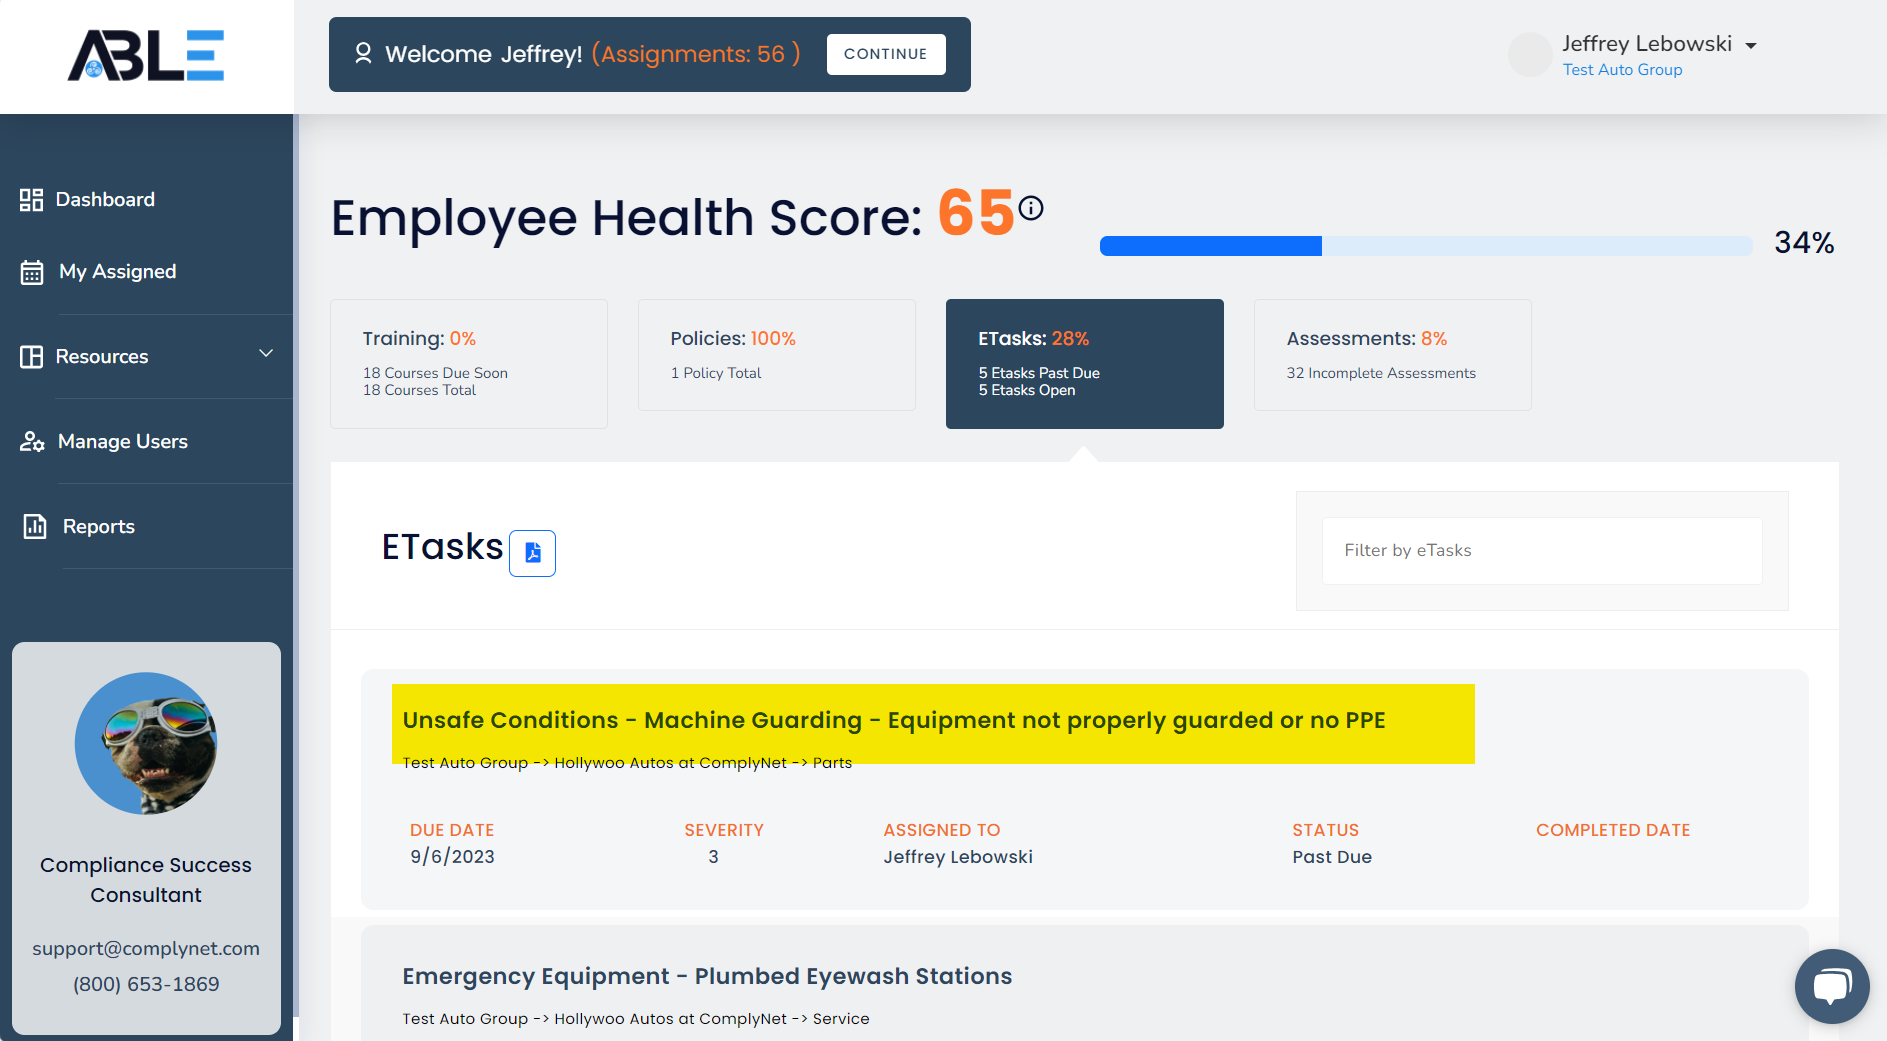
→ Choose the eTask you wish to reassign. This action will prompt a pop-up window that displays all the information related to this particular eTask.
→ Once you have accessed the ETask Details panel, click on "Reassign To..." to initiate a drop-down menu of available users to whom you can reassign the eTask.
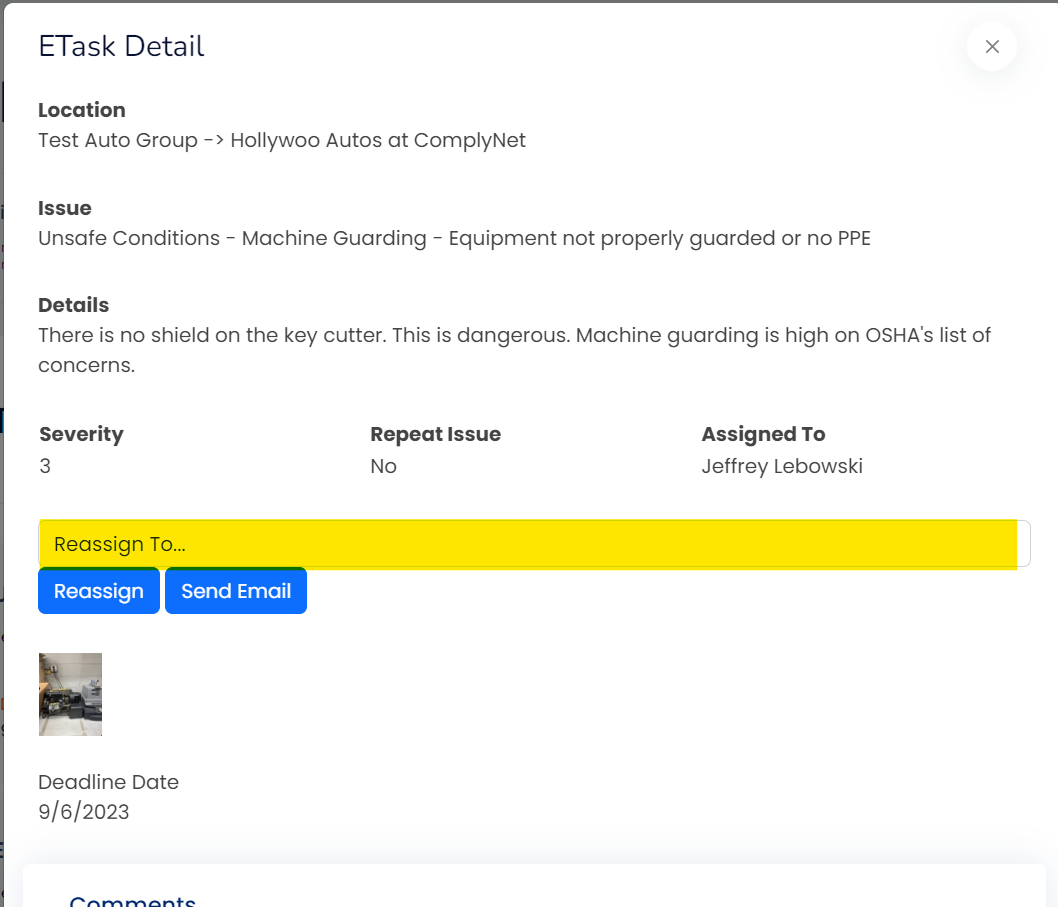
→ Select the user you want to reassign the eTask to from the list of available options.
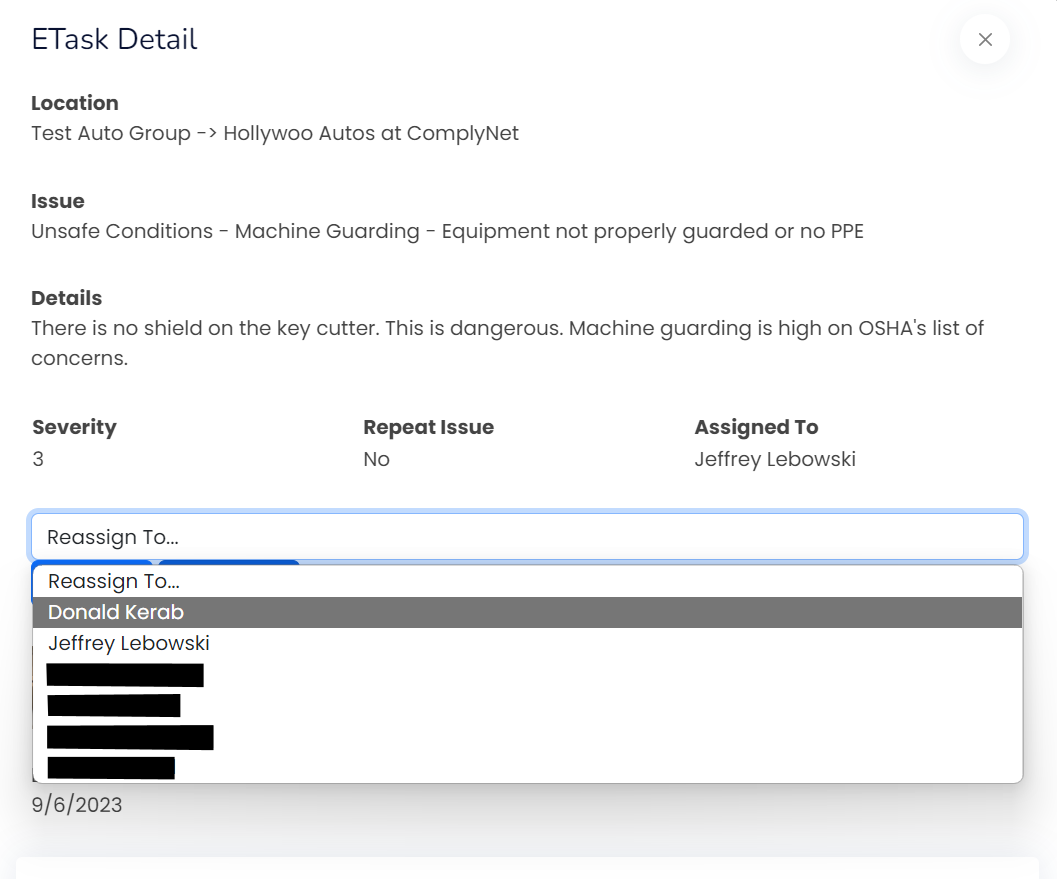
→ Make sure that you have selected the correct user and then click on "Reassign" in order to carry out this action.
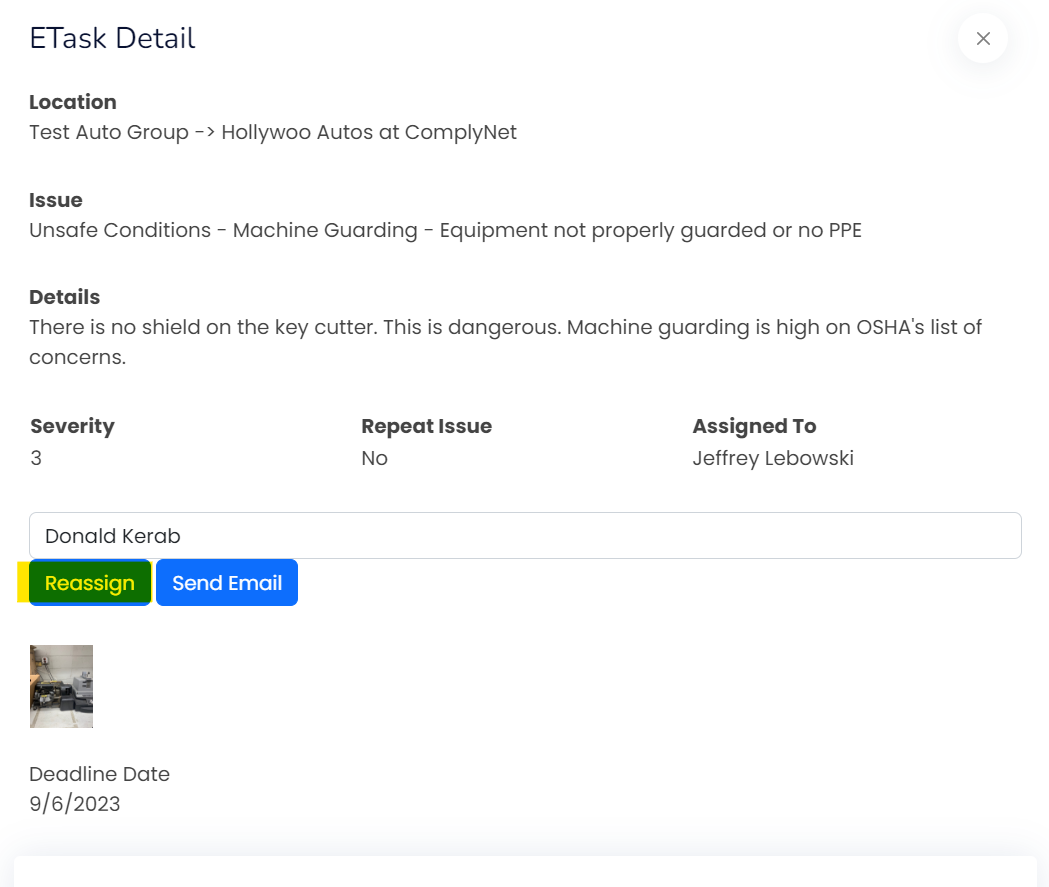
→ The name will automatically update to reflect your change under "Assigned To".
