Read through this article for a comprehensive step-by-step walkthrough on how to add new vendors into your ABLE platform.
Please note: In order to complete the task outlined in this article, you will need to have Admin permissions within the system. If you do not have the necessary access, contact your company administrator for assistance.
→ To begin, navigate to the "Resources" tab on the left-hand side to unveil a drop-down menu of options.
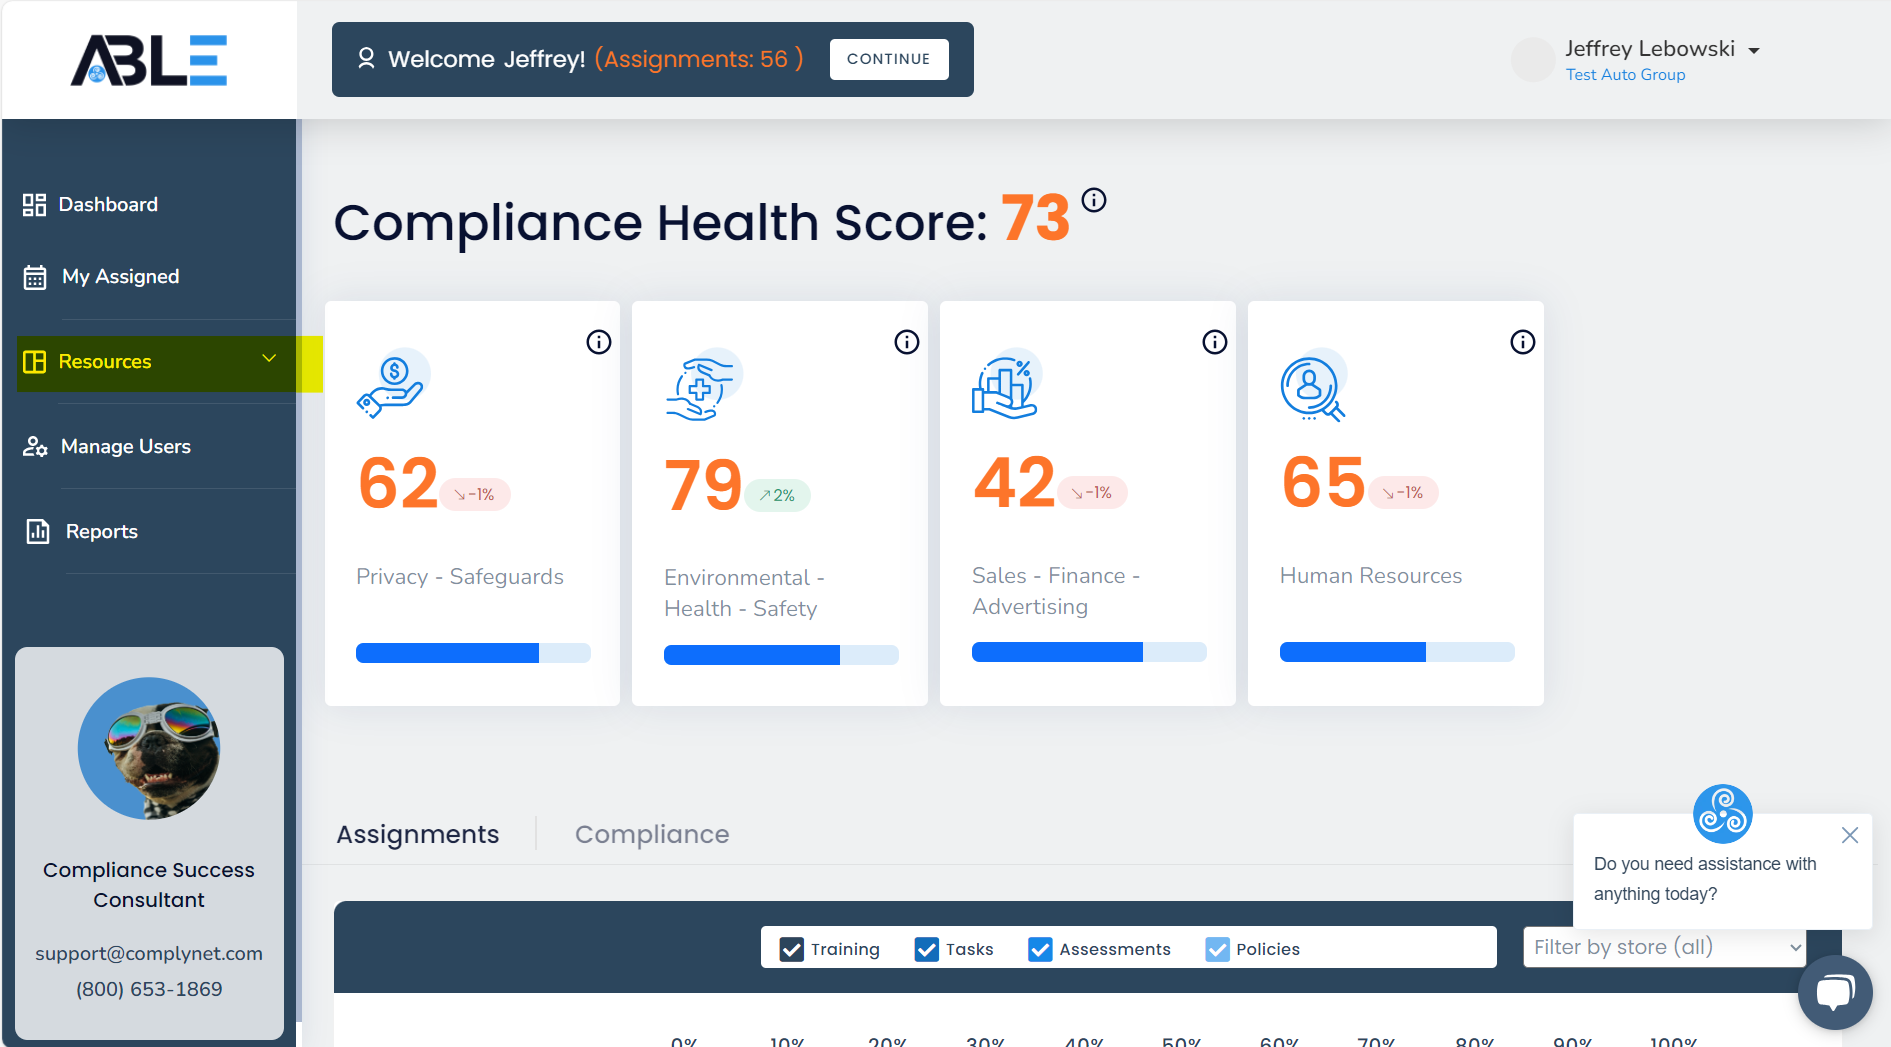
→ Click "Vendor Management" from the list of options.
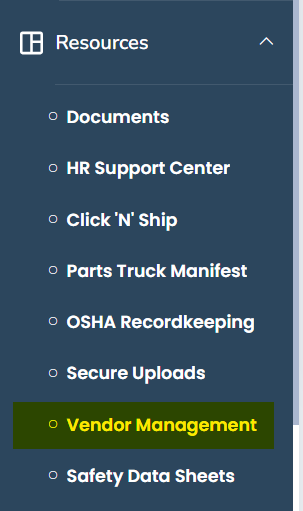
→ Upon entering the Vendor Management page, the display on your screen should resemble the example below.
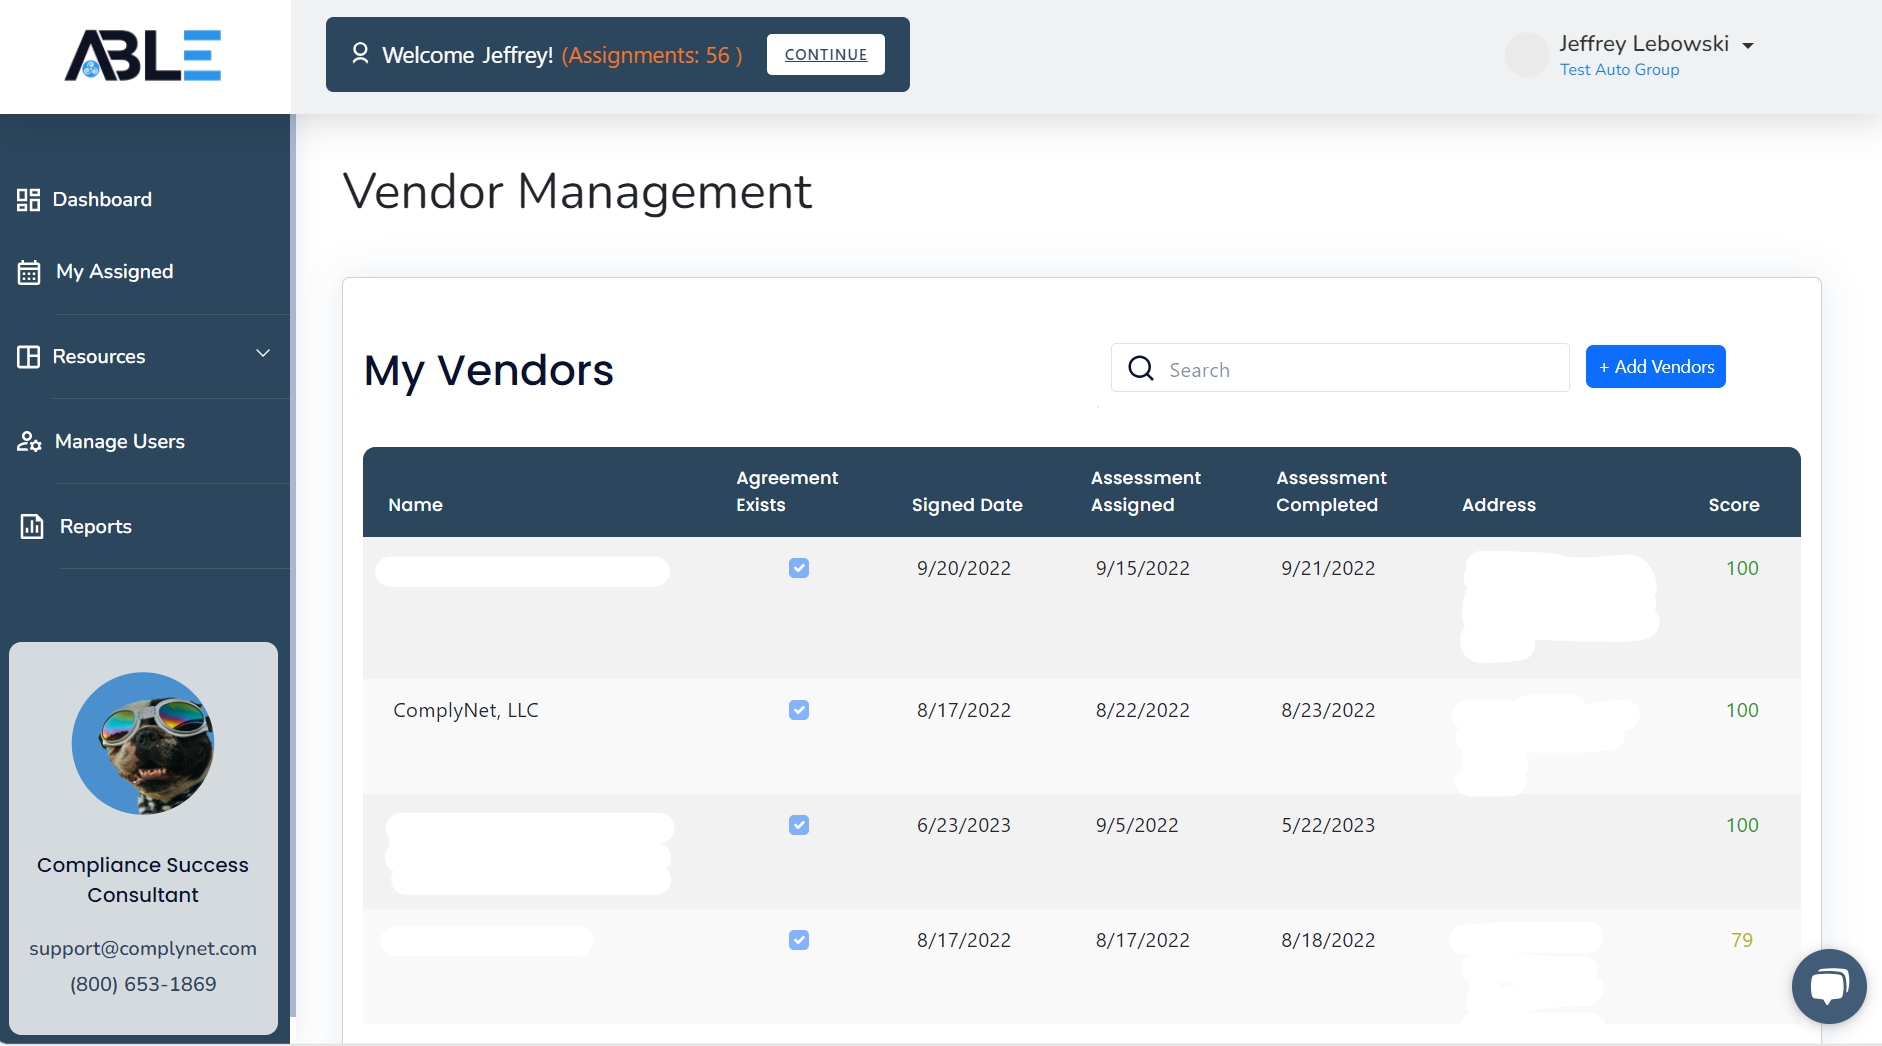
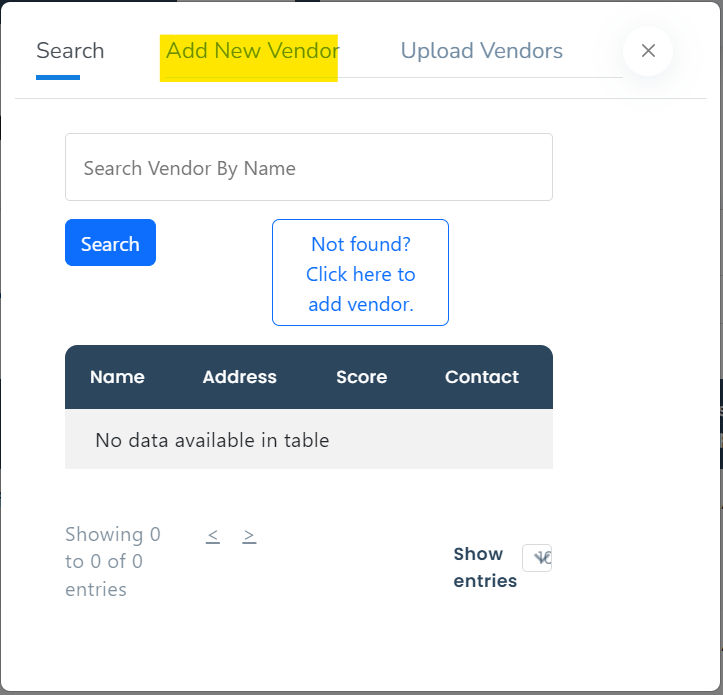
→ To add vendors, click on the "+ Add Vendors" button. A pop-up window will appear, allowing you to add vendors to the system.
→ In the pop-up window, locate and select the "Add New Vendor" tab.
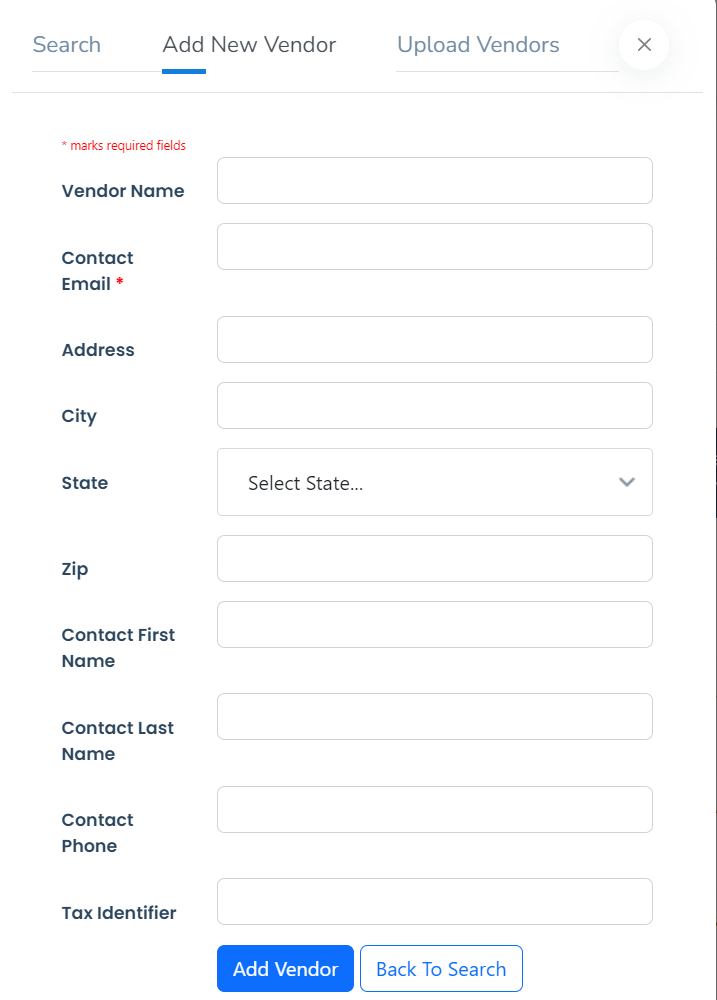
→ On this page, please ensure that you accurately fill out all the necessary information to match the vendor you are adding into the system.
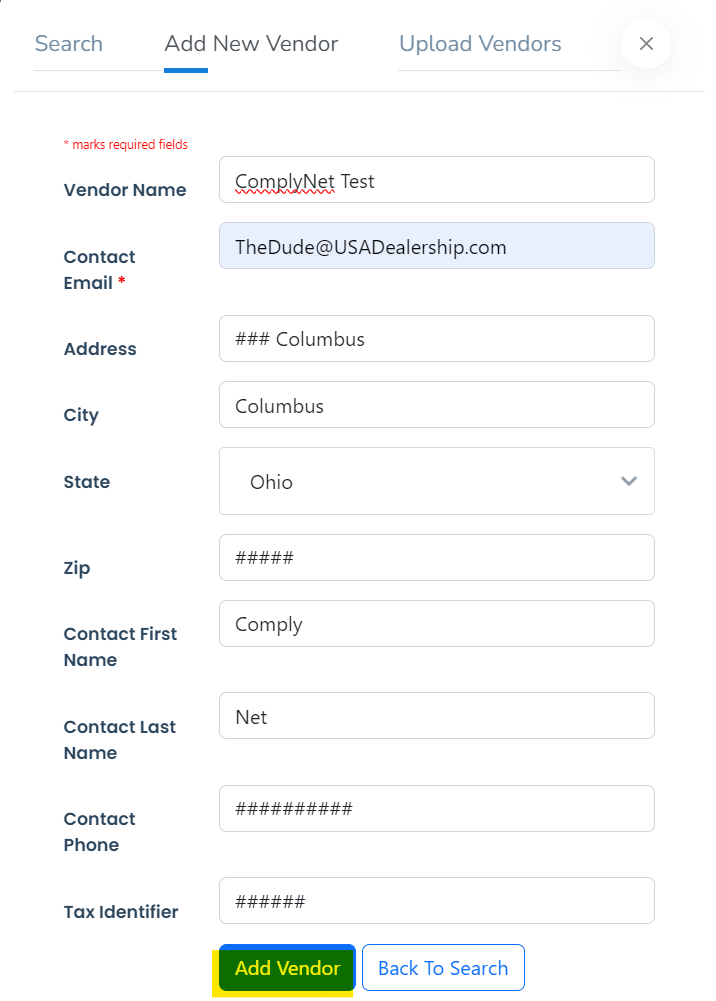
→ After filling out the information, proceed by clicking on the "Add Vendor" button.
→ Once a new vendor has been added to the system, they will receive an automated correspondence regarding a series of assessments to complete as well as an agreement, provided their email has been correctly labeled.