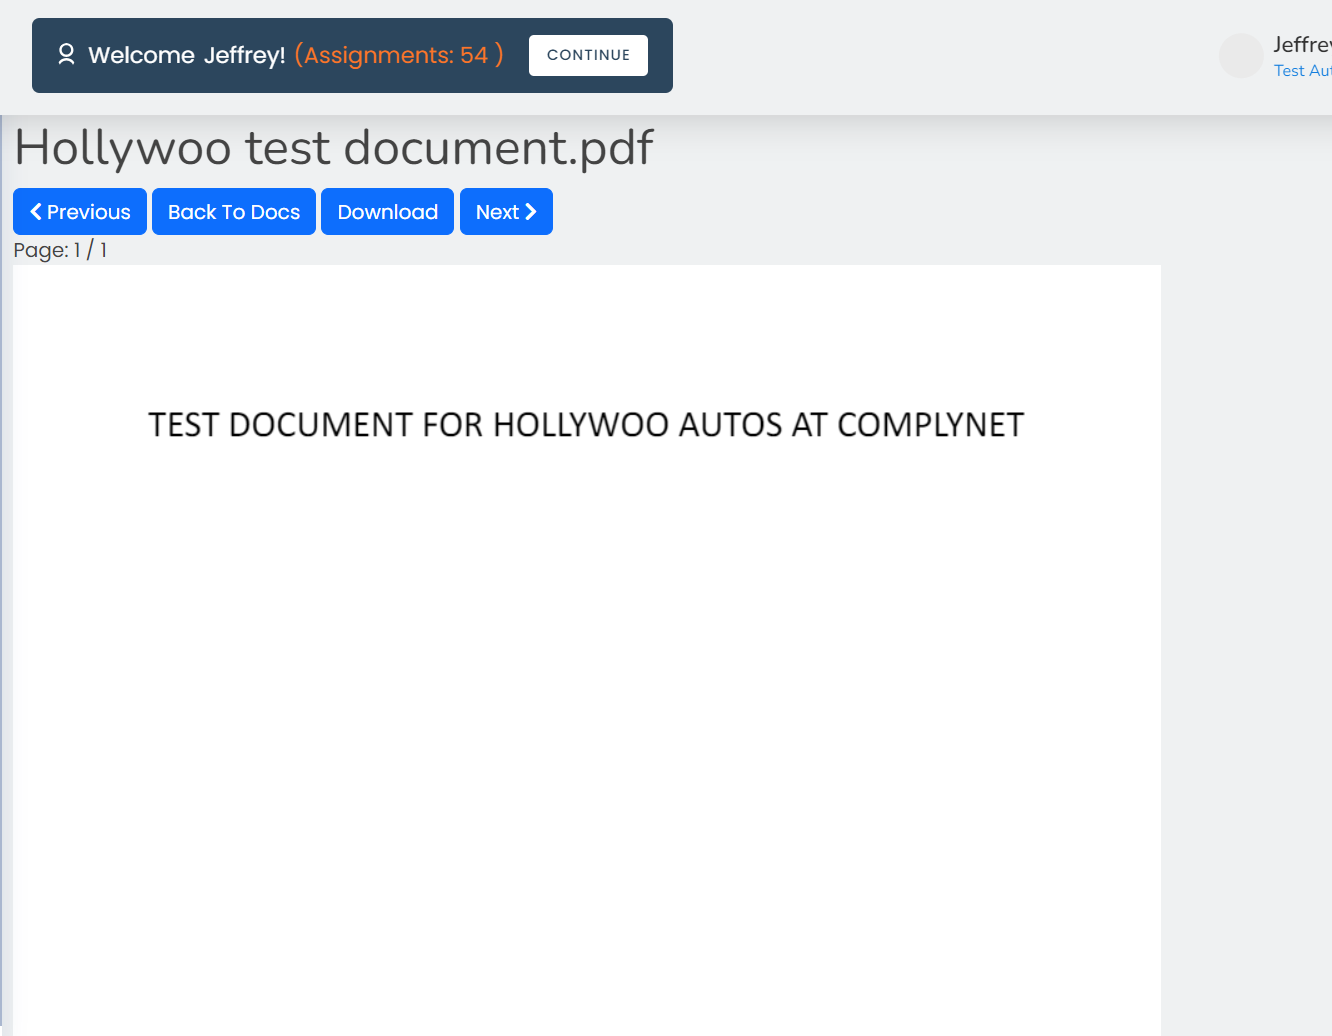
Admins have the ability to upload documents into their platform on ABLE. See this article for a step-by-step walkthrough on how to execute this.
Please be aware that only Admins have the capability to perform this action. If you do not have the necessary access, contact your company admin for assistance.
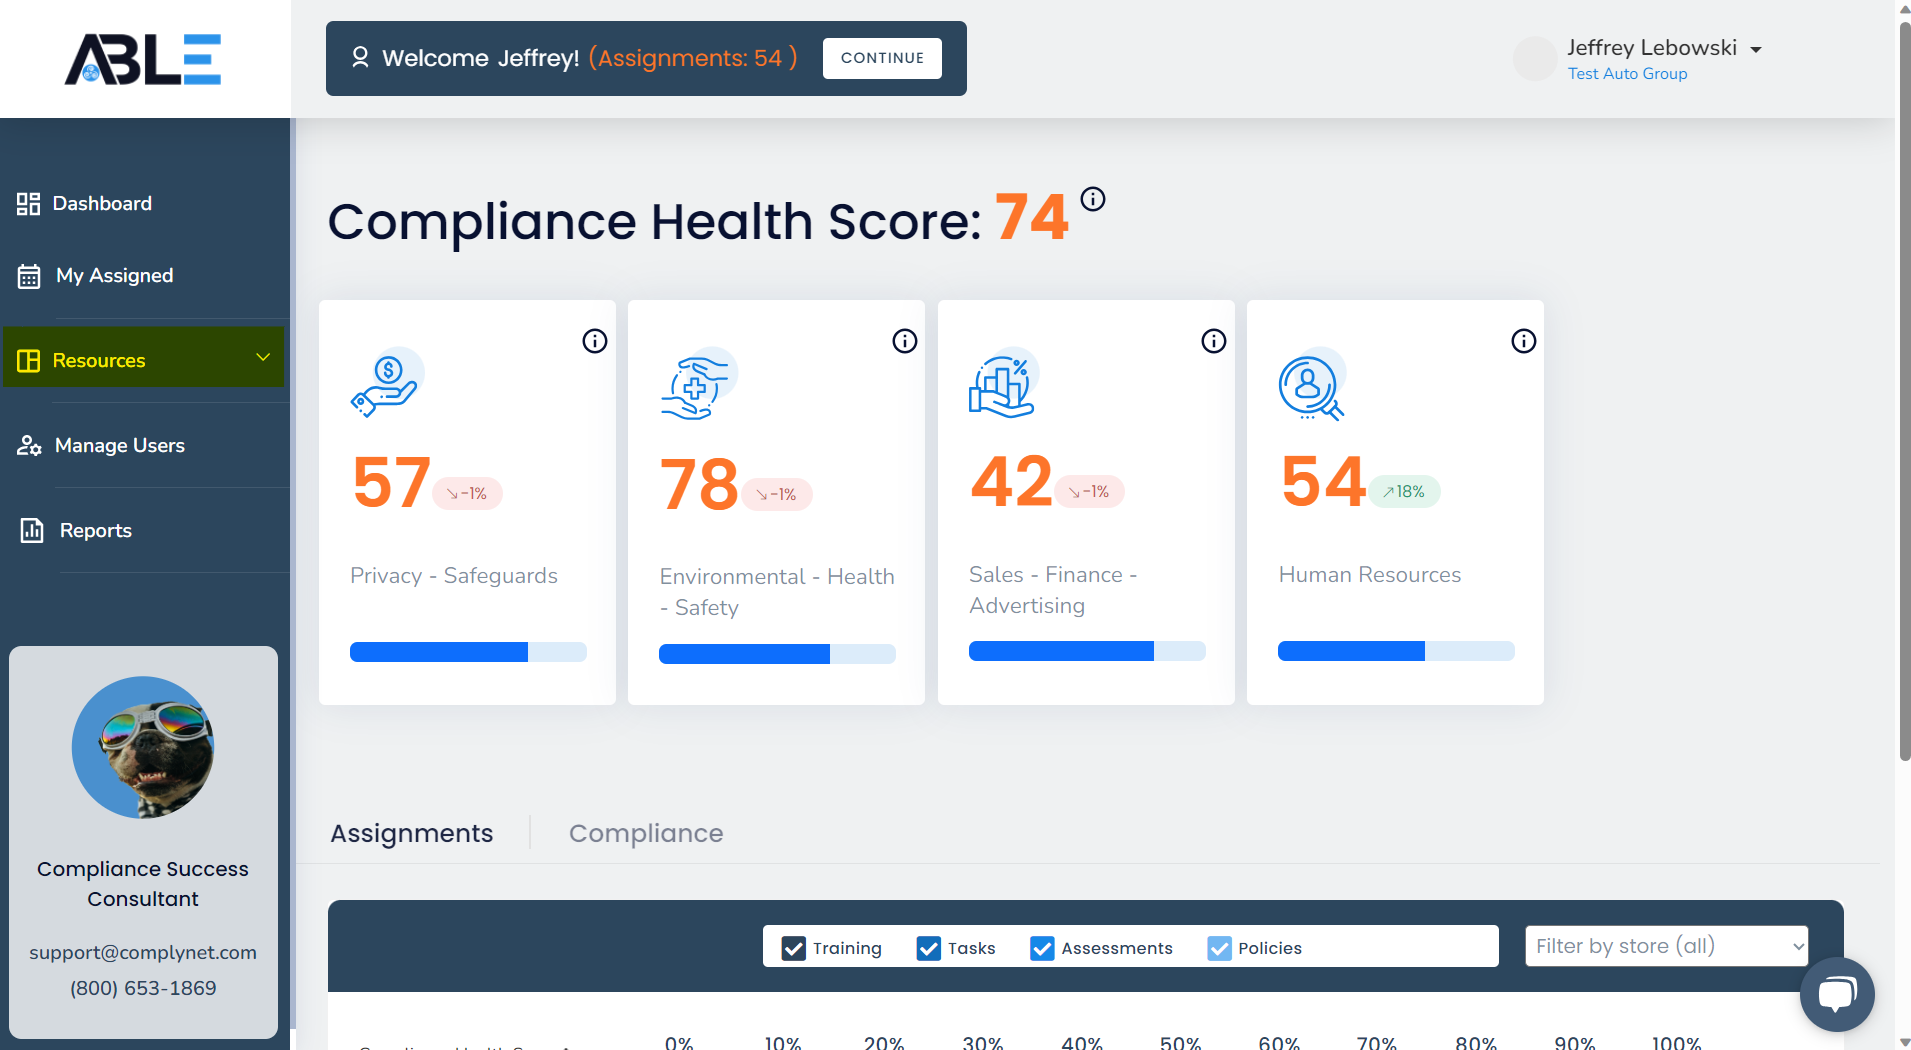
→ To begin, locate and click on the Resources tab.
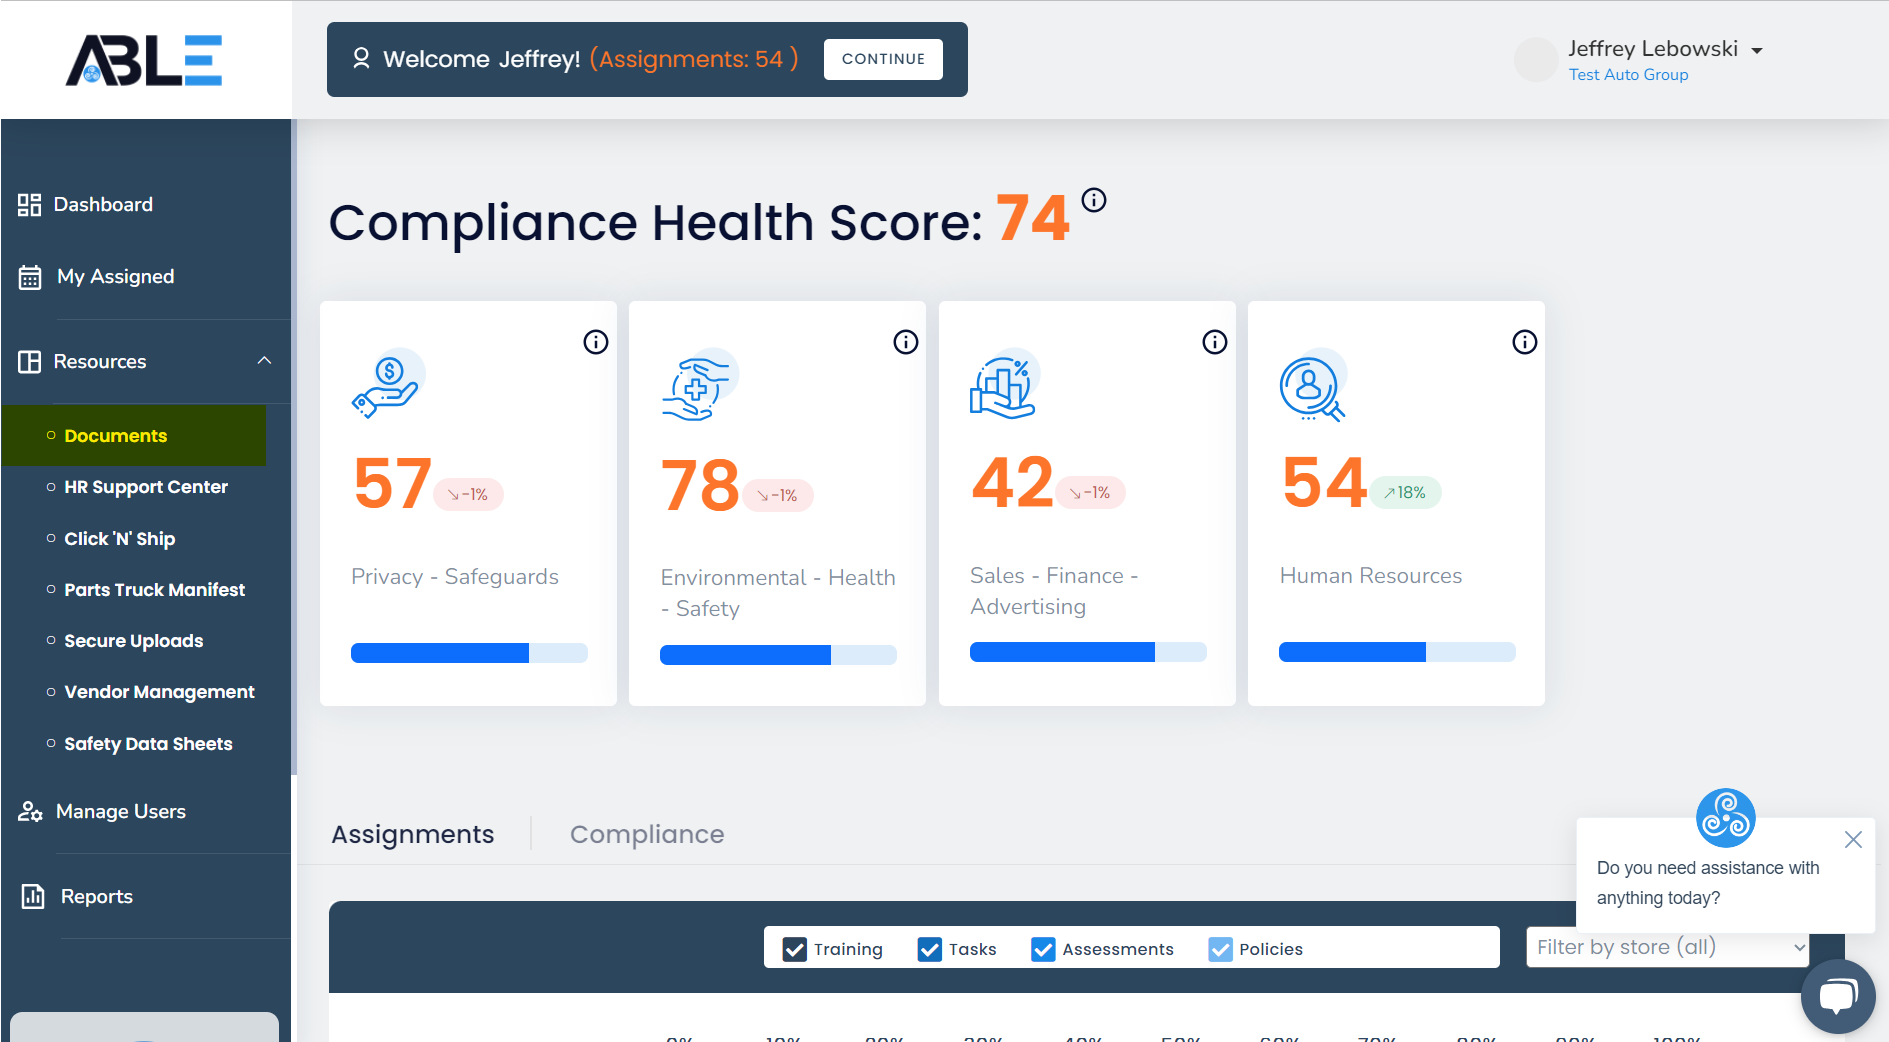
→ You will find a dropdown menu with various options. Choose "Documents" from the dropdown menu.
→ Upon clicking on the Resources > Documents tabs, you will be directed to a page displaying all of your current documents. At the top of the page, you will find the option to click "(admin)" for administrative access.

→ You will be directed to a screen that resembles the example below. To add a new document, simply click on the "+" symbol.


→ A pop-up window will now appear on your screen, allowing you to add a new document.
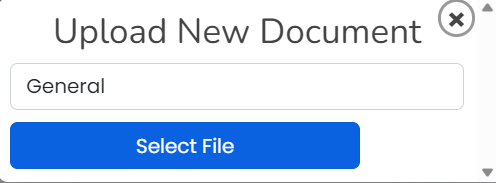
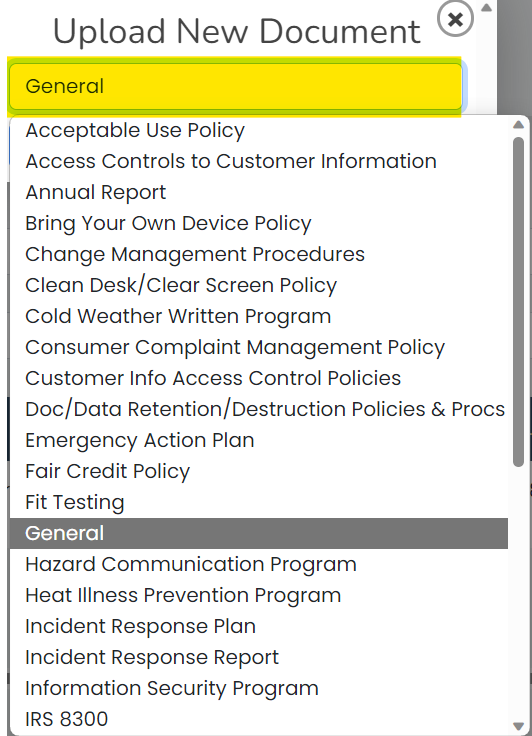
→ By default, the document type is set to "General". Click on this option to reveal a new dropdown menu with different document types for you to choose from.
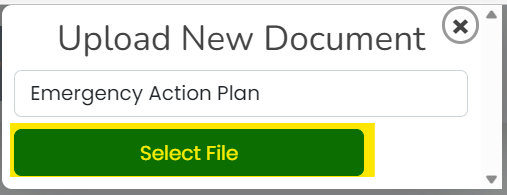
→ Once you have chosen the document type, click on "Select file". Then, you can select the specific file from your computer that you want to upload.
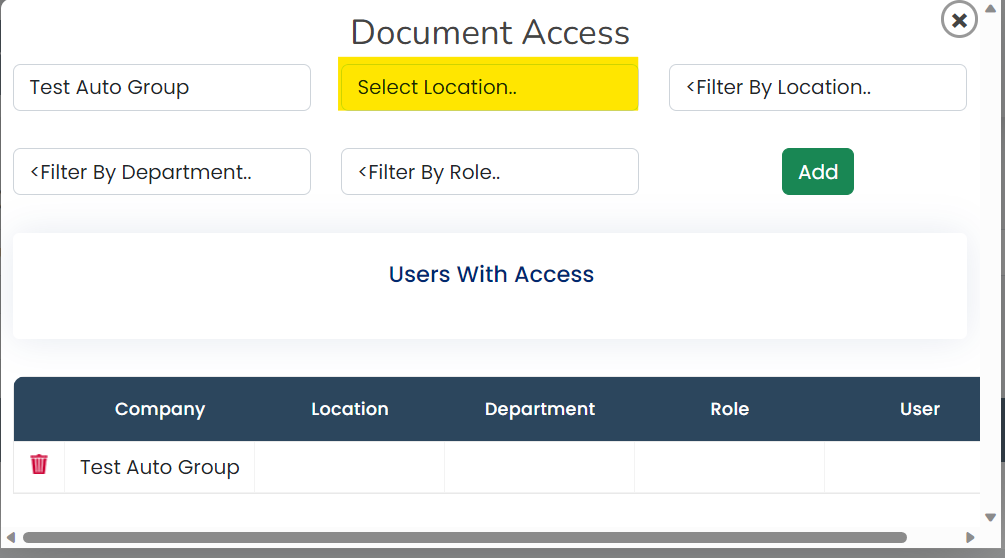
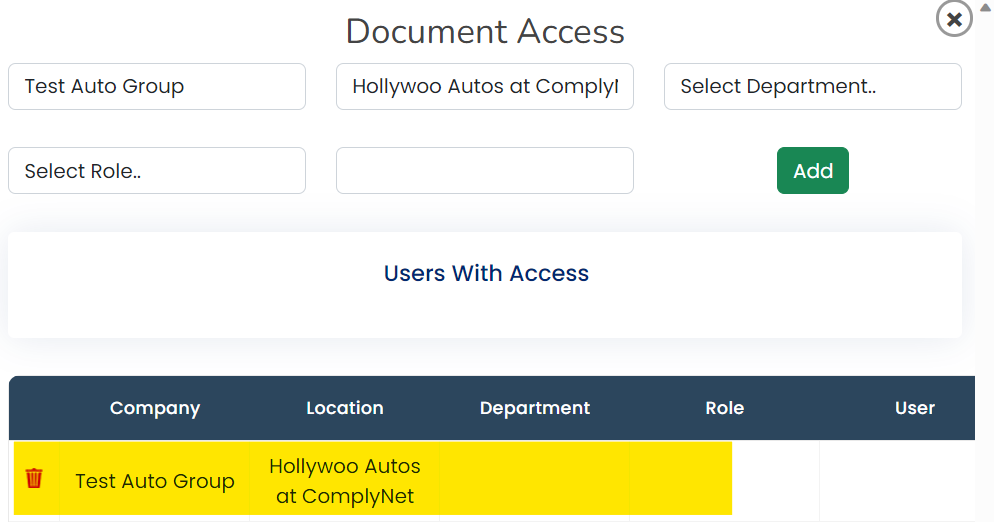
→ Once you've chosen the file from your computer, you'll be prompted to customize document access. Here, you can use filters to specify which users within a location, department, etc. can access this document.
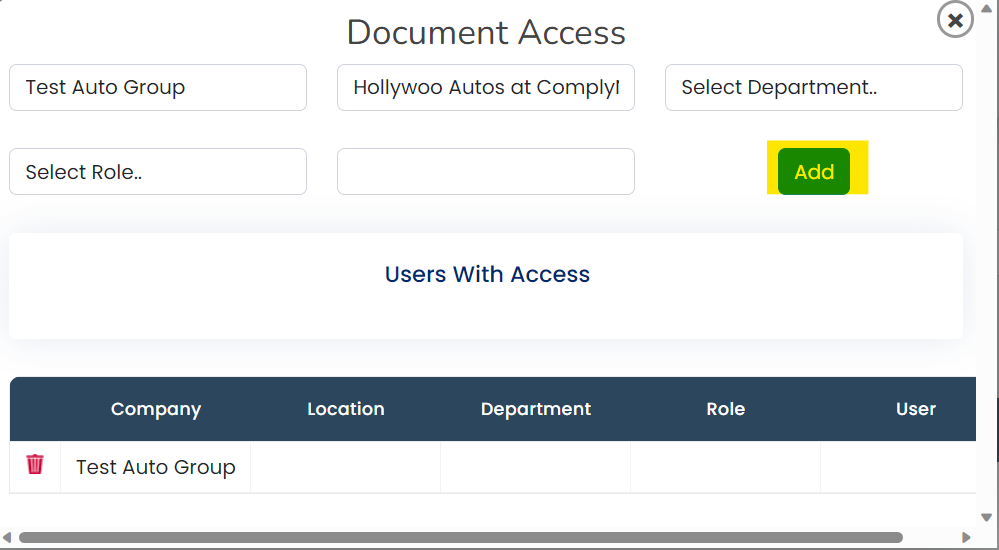
→ After filtering the access as desired, click on the "Add" button.
→ Once you have followed the aforementioned steps, navigate back to the original documents page. You will then be able to locate and access your recently uploaded document for viewing.

